I had way too much fun building my website last summer, and now that I know so many other ladies are in the process of building their own websites or sprucing them up after a couple of years, I’d love to share what I know! Most of what I know, I had to figure out by myself, and it’s hard enough to start a business with kids without also having to become an expert in graphic design.
Branding
Let’s start at step one, which is your branding. Typically, you want to limit yourself to 2-3 fonts and 2-3 colors. I’m the worst about wanting to use ALL the colors. I fall in love with every color palette I see. But, it’s really important to just use a couple and use them across your website, instagram, and any print media. You want people to recognize your brand before they even read your content.

Color Theory
You can get really deep into color theory with your brand colors. Red is exciting, blue and green are calming, etc. You can even use a pop of cool in a majority warm color palette to create depth. I frequently use this technique in my photography when I slide my greens to the cooler side in Lightroom. Use complimentary colors for that “wow” factor, and use analogous colors for a calming vibe. The possibilities are endless!
Contrast
Something to note on the technical side of branding is color contrast. You want any text to have a contrast ratio of at least 4.5 against the background. Even if you can read it just fine, some people may have difficulties.
Here is a handy dandy contrast checker! Input your hex keys and it will tell you the contrast ratio and show you how the text looks together. If you fail the contrast test but still want to use those colors, no worries, just add in some neutrals to round out that color palette!
Logo
Canva is really helpful for doing your logo! I made mine with Canva, and I was able to customize it how I wanted, group it all together, and then copy it onto anything I need.
If you need a second opinion on your branding colors or logo, let me know, I’d love to help!
Layout
The second most important thing is your layout. If you are using a theme, make sure it works well in Mobile View, not just Desktop View. The majority of your clients will be browsing from their phones! I use drop down FAQ sections and sliding canvases to make the most out of mobile view. Clients can play with the interactive canvas if the content interests them, or keep scrolling if they are looking for something else.
Your layout should be easy to understand and you should have your pages linked to each other. For example, I have my about page, my galleries page, several blogs, and my contact page all linked on my home page. Keep your layout simple, you want clients to know exactly how to book with your and how to ask questions if they aren’t sure yet!
Also, you don’t want your carefully crafted content to get lost in the scroll, so use color blocking on your sections to help them stand out, especially on mobile! Some web design software will let you adjust things separately on Mobile vs Desktop!
Images
Make sure to use images that match your branding! If your branding is dark and intense, don’t use an image of you in an all white studio with bright lighting. If you’re working with infants, don’t take headshots at nightclub. If you’re working with middle schoolers, a colorful office or a skatepark may be amazing!
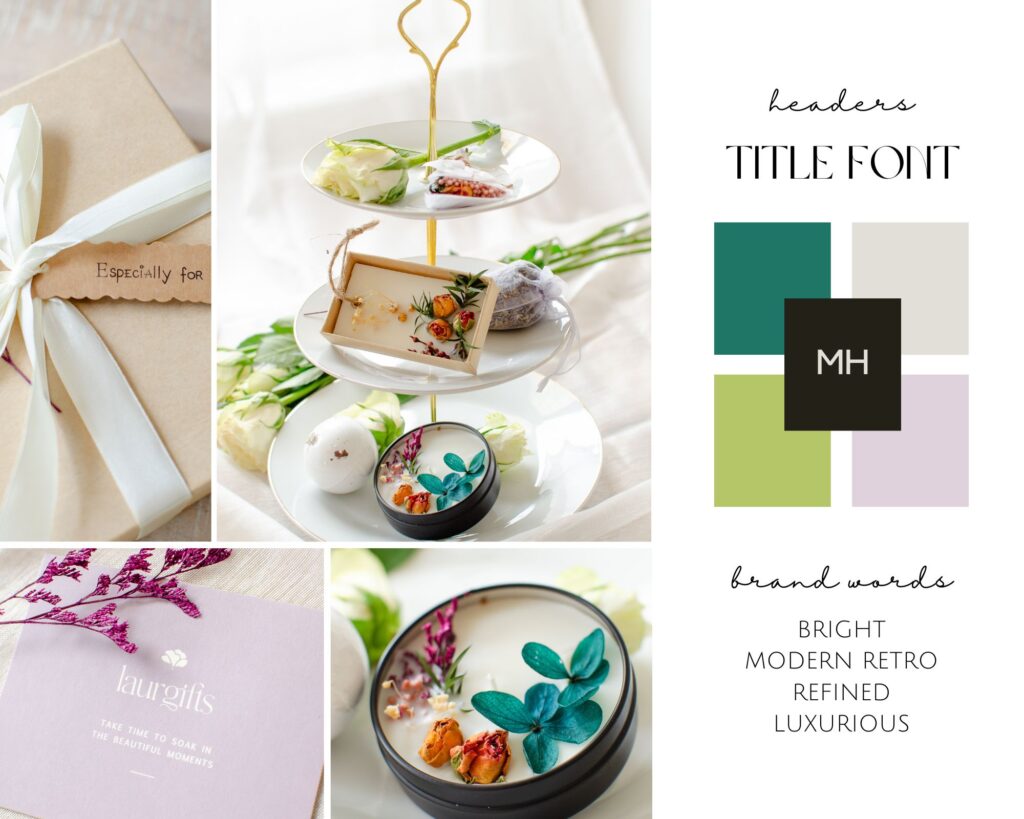
Image Directions
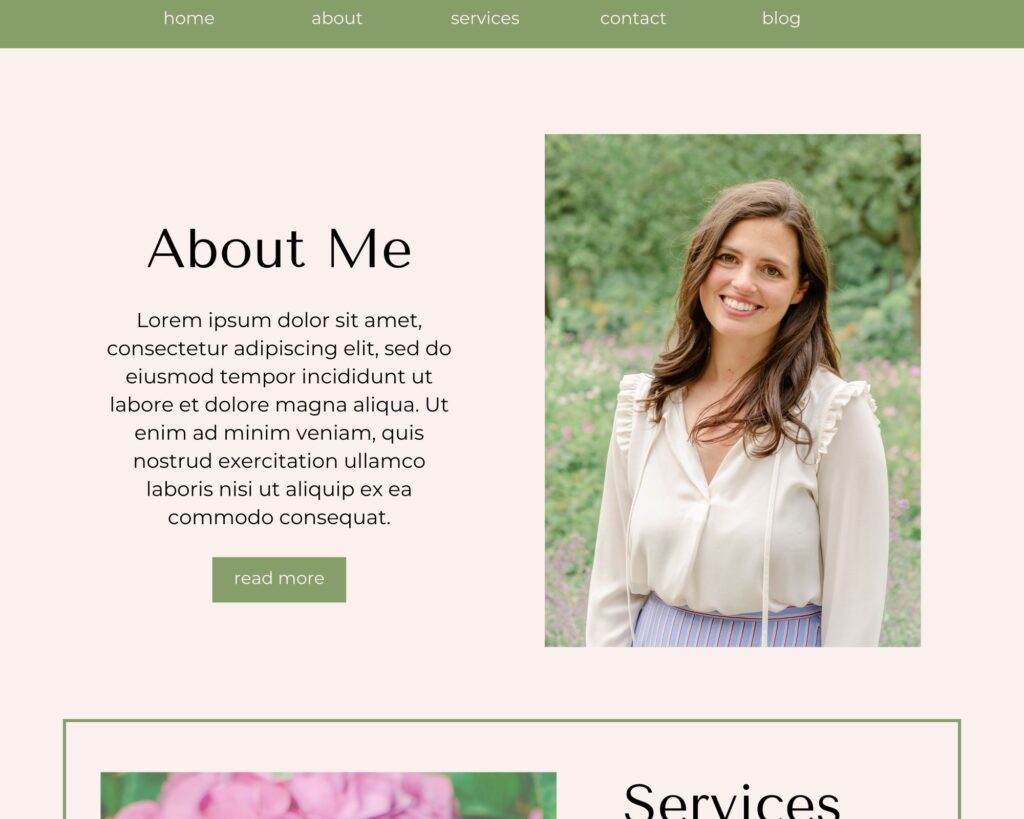
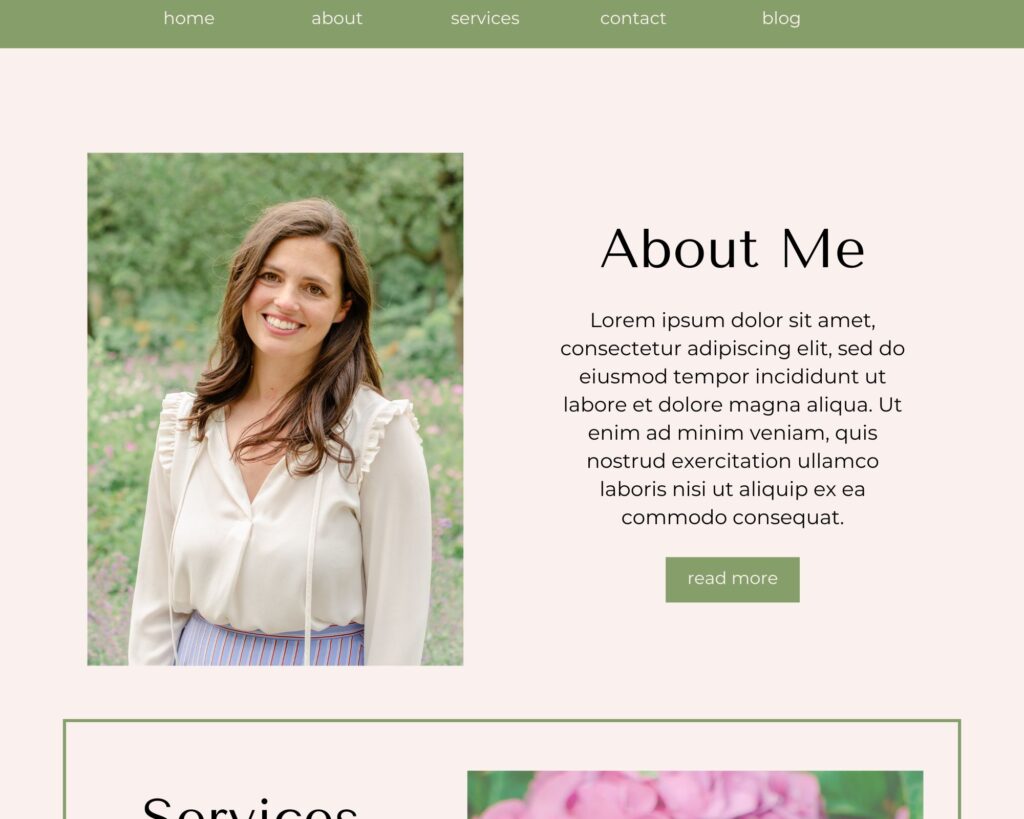
Part of graphic design is knowing where the human eye is naturally going to go first and why. I’ve been doing this so long that it’s second nature at this point, but basically you want to use leading lines, white space, bodies, and eyes to draw the eye inwards, towards your content.
For example, look at the difference between these two layouts. The first one, the headshot is turned inwards towards the text. It looks natural. Your eye goes to the headshot first, then to the heading, the paragraph, and finally the button.
In the next one, notice how “off” it looks because the headshot is facing outwards, away from the center of the website, and away from the text.
Optimizing for Web
On the technical side, the images on your website need to have been run through an optimizer, and when you get branding photos make sure your photographer gives you an option to download the web files. This is because the larger the image, the longer it takes to load. I always export my images as web files first and then run them through an additional optimizer because as a photographer, I have so many images on my website and every bit of compression helps my loading speed.
If your website is slow, nothing else will matter, because people will click away before they even have a chance to see it!
Headshots
It’s so important if you use personal branding for a service-based business, that your headshot and some of your “about me” content can be found in first three sections of your home page. Clients should be able to look you in the eye. An image of your looking away from the camera should not be their first impression of you!
SEO
If you’re using SEO marketing (which you should, hello, free marketing) don’t try to hit multiple keywords with the same page, or try to hit the same keyword with all of them!
But also write your text to be helpful and relevant to your audience, don’t try to keyword stuff!
Make sure to add image descriptions and assign text as headers (H1, H2, H3, etc) or as copy. This helps Google know which words are the most important. (For example, if you say you love ice cream on your “about” page, you don’t want Google to think your website is an ice cream shop.)
Work with Me
I hope that was helpful! I’m soft-offering branding consultations and website spruces to compliment my headshot photography. If you need someone to take a look at your branding or help you redo your website, I’m just an email away!
You can contact me via simsawyersphotography@gmail.com.


COMMENTS